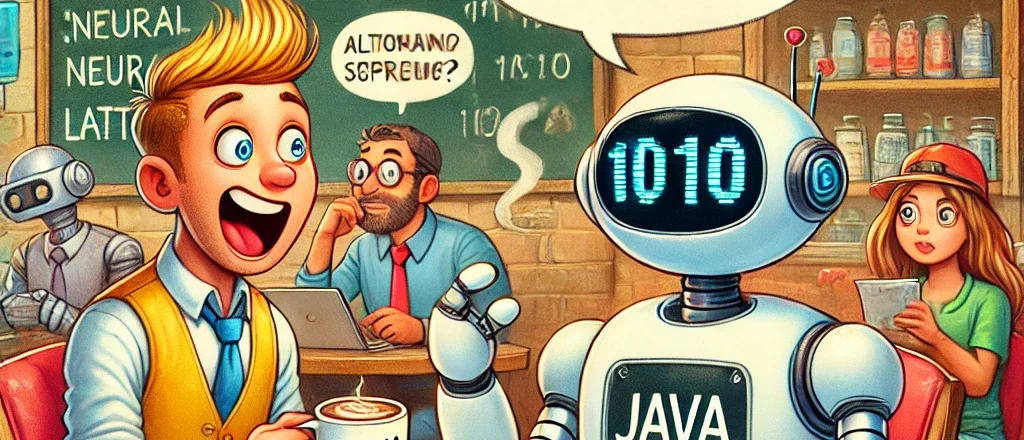
Getting Started with Generative AI: Building Your Own Chatbot with GPT-4
Introduction
In the past few years, Generative AI has taken the world by storm, revolutionizing industries from entertainment to healthcare. With models like GPT-4, it’s now possible for anyone to build sophisticated chatbots that can understand and generate human-like text. In this blog, we’ll guide you through creating your own AI chatbot using GPT-4, even if you’re new to programming or artificial intelligence.
What You’ll Learn
- Understanding the basics of generative AI and GPT-4
- Setting up access to the GPT-4 API
- Building a simple chatbot application
- Customizing your chatbot’s behavior
- Best practices and ethical considerations
Prerequisites
- Basic knowledge of Python programming
- An OpenAI account with access to the GPT-4 API
- A computer with internet access
Understanding Generative AI and GPT-4
What is Generative AI?
Generative AI refers to artificial intelligence models that can generate new content, such as text, images, or music, based on the data they’ve been trained on. These models can produce remarkably human-like outputs, making them invaluable tools in various applications.
Introducing GPT-4
GPT-4 is one of the most advanced language models developed by OpenAI. It’s designed to understand and generate natural language text, making it ideal for building chatbots, virtual assistants, and more.
Setting Up the Environment
1. Install Python
Ensure you have Python 3.7 or higher installed. Download it from the official Python website.
2. Install Required Libraries
We’ll use the following Python libraries:
openai(for accessing the GPT-4 API)rich(for a better command-line interface)
Install them using pip:
pip install openai rich3. Obtain OpenAI API Key
- Sign up for an account at OpenAI.
- Navigate to the API section and generate a new API key.
- Keep this key safe; you’ll need it to access the GPT-4 model.
Building Your Chatbot
1. Setting Up the Project
Create a new Python script named chatbot.py.
import openai
from rich.console import Console

console = Console()
2. Configuring the OpenAI API Key
Add your API key to the script. For security, it’s best to store it as an environment variable.
import os

openai.api_key = os.getenv("OPENAI_API_KEY")
Before running the script, set the environment variable in your terminal:
On Windows:
set OPENAI_API_KEY=your-api-key-hereOn macOS/Linux:
export OPENAI_API_KEY=your-api-key-here3. Writing the Chatbot Logic
def generate_response(prompt, chat_history):
    response = openai.ChatCompletion.create(
        model="gpt-4",
        messages=chat_history + [{"role": "user", "content": prompt}],
        temperature=0.7,
    )
    return response['choices'][0]['message']['content']

def main():
    console.print("[bold blue]Welcome to your GPT-4 Chatbot![/bold blue]")
    chat_history = []
    while True:
        user_input = console.input("[bold green]You:[/bold green] ")
        if user_input.lower() in ["exit", "quit"]:
            console.print("[bold red]Goodbye![/bold red]")
            break
        response = generate_response(user_input, chat_history)
        chat_history.append({"role": "user", "content": user_input})
        chat_history.append({"role": "assistant", "content": response})
        console.print(f"[bold yellow]Bot:[/bold yellow] {response}\n")

if __name__ == "__main__":
    main()
4. Running the Chatbot
Run your chatbot from the terminal:
python chatbot.pySample Interaction:
Welcome to your GPT-4 Chatbot!
You: Hello!
Bot: Hello there! How can I assist you today?
You: Tell me a joke.
Bot: Why don't scientists trust atoms? Because they make up everything!
Customizing Your Chatbot
Adjusting the Model’s Behavior
You can tweak the chatbot’s responses by adjusting parameters:
- Temperature: Controls randomness. Lower values make outputs more deterministic.
- Max Tokens: Limits the response length.
- System Messages: Define the assistant’s behavior.
Example: Adding a System Message
def generate_response(prompt, chat_history):
    response = openai.ChatCompletion.create(
        model="gpt-4",
        messages=[
            {"role": "system", "content": "You are a friendly and helpful assistant."}
        ] + chat_history + [{"role": "user", "content": prompt}],
        temperature=0.7,
    )
    return response['choices'][0]['message']['content']
Implementing Memory
The chatbot currently remembers the entire conversation. To limit memory (for performance and cost):
MAX_HISTORY = 5  # Number of previous exchanges to remember

def main():
    # ...
    while True:
        # ...
        chat_history = chat_history[-(MAX_HISTORY*2):]  # Keep last N exchanges
        # ...
Best Practices and Ethical Considerations
Responsible Use
- Privacy: Don’t share personal or sensitive information with the chatbot.
- Bias: Be aware that AI models can reflect biases present in training data.
- Content Filtering: Implement checks to prevent the bot from generating inappropriate content.
Cost Management
OpenAI’s API is a paid service. Monitor your usage to avoid unexpected costs.
Conclusion
You’ve successfully built and customized your own chatbot using GPT-4! This powerful tool can be adapted for customer service, personal assistants, tutoring, and more. As you continue experimenting, consider how generative AI can be responsibly integrated into your projects.
Next Steps
- Enhance Functionality: Add features like voice input/output, GUI interfaces, or integration with messaging platforms.
- Explore Other Models: Try different OpenAI models like GPT-3.5-turbo for cost-effective solutions.
- Learn More About AI Ethics: Understand the implications of deploying AI systems in real-world applications.

